


Create a .NET Core Development Environment using Visual Studio Code - Part 1


Almost all of the .NET developers are accustomed to developing applications using the Visual Studio IDE from Microsoft. But this has a limitation - Visual Studio was a Windows application. This meant that you need a Windows OS machine to develop .NET Applications using Visual Studio. But with the introduction of .NET Core which is both open source and cross-platform Microsoft turned over a new leaf. .NET Core, a total rewrite of the .NET Framework came with a CLI tool that is referred to as .NET CLI can be used by developers who don’t wish to use Visual Studio for developing .NET applications with the help of command line and just a text editor of their preference.
Speaking of text editors, I would like to mention that, Microsoft developed a cross-platform and open-source (again) text editor called Visual Studio Code. Visual Studio Code is so powerful and amazing that it provides Intellisense, Debugging and Git support built in. It is so extensible that if it is not providing something that you look for, you can find an extension that meets your need in its extensions library. If you didn’t find it in their extensions library, you could just make one of your own and use it. Cool Right??
In this post, I would be talking about how to set up Visual Studio Code so that it can be used to develop applications using .NET Core.
Prerequisites
Install .NET Core SDK. You can download the installer from here. When the installation is complete, open a command prompt or terminal and type the
dotnet --versioncommand. You will be seeing something like 5.0.101 which is the .NET Core version you installed in your system. If you see the version number then .NET is correctly installed and ready to use.Install Visual Studio Code. You can download the installer from here. Depending upon your OS the installation process may vary. You can get the setting up VS Code instructions here.
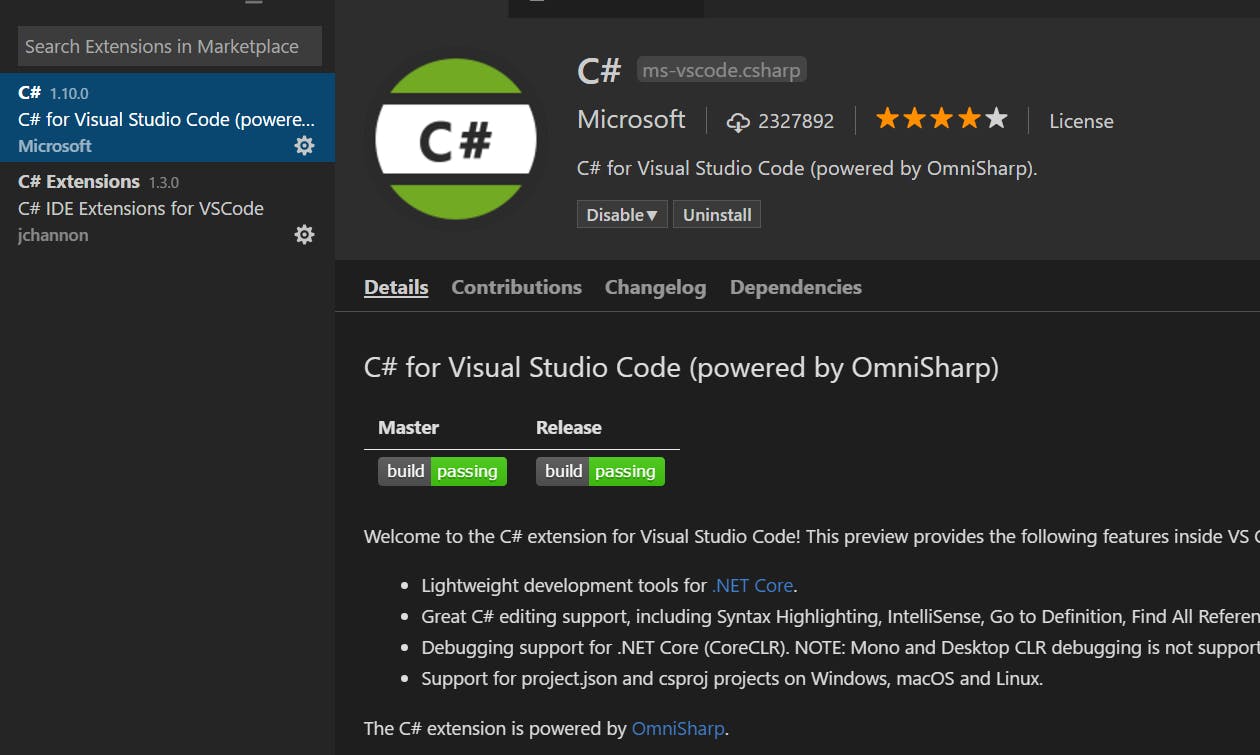
Install the C# extension for Visual Studio Code. For this bring up the Extensions view by clicking on the Extensions icon in the Activity Bar on the side of VS Code or use the keyboard shortcut
Ctrl+Shift+X. Search for C# in the search box and install the extension from the list.
Now we are ready to develop .NET Core applications using Visual Studio Code. Let’s look at an example.
For developing our first .NET Core application using Visual Studio Code we will use the .NET CLI tool.
Create an empty folder. Name it DotNet Core Sample. Right-click on that folder. From the displayed context menu, select Open with Code option. This will open Visual Studio Code with the selected folder as your workspace.
Use
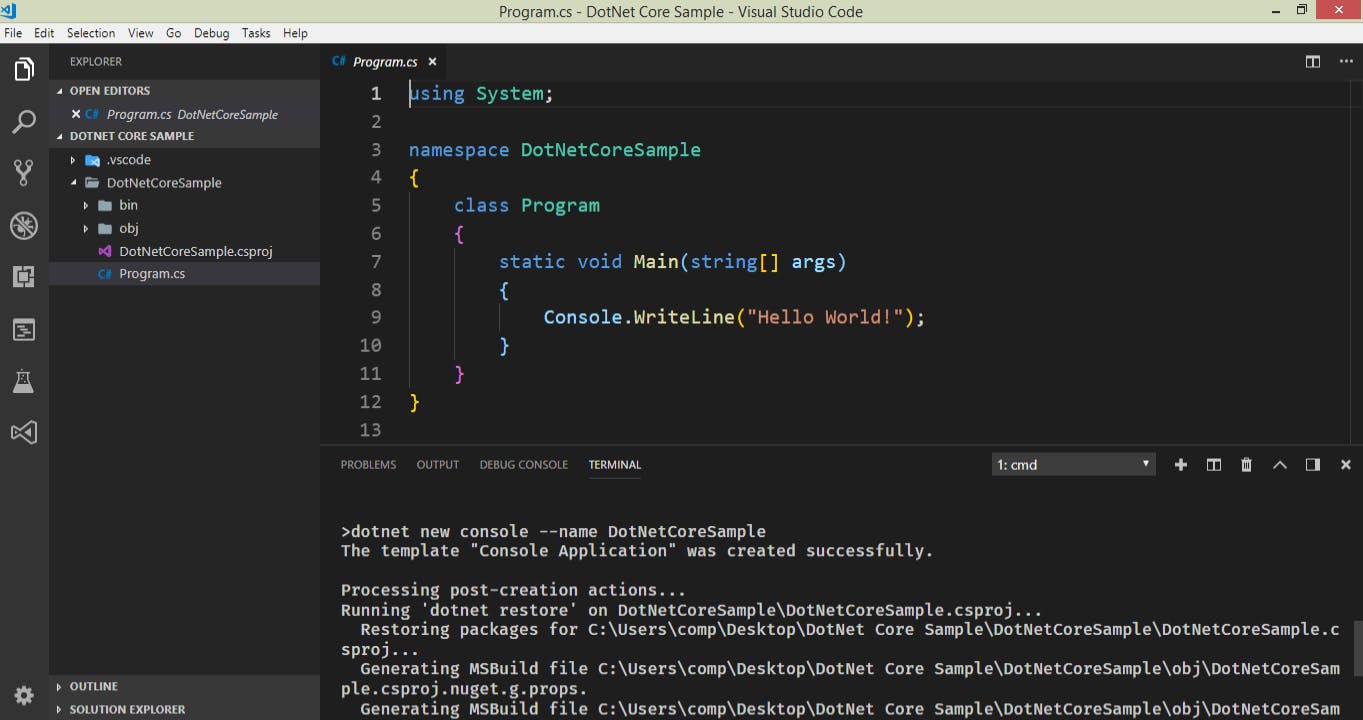
Ctrl+`(backtick character) shortcut to open the built-in terminal in Visual Studio Code. (Yes! VS Code has a terminal built into it.)We will be creating a basic console application using the .NET CLI. Type
dotnet new console --name DotNetCoreSamplein the terminal window and press Enter. The .NET CLI tool will create a console application with aProgram.csfile and will restore the packages required for the project. See the figure below.
- Open the
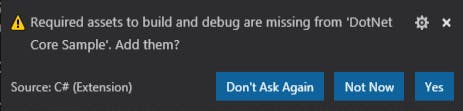
Program.csfile. When you open the file, the C# extension installed will show a notification toast in the lower right corner of your editor offering to generate build and debug for your project. Click on the Yes button. This will create two configuration files in your source namedlaunch.jsonandtasks.json. These files help in building and debugging your applications using Visual Studio code.
In the
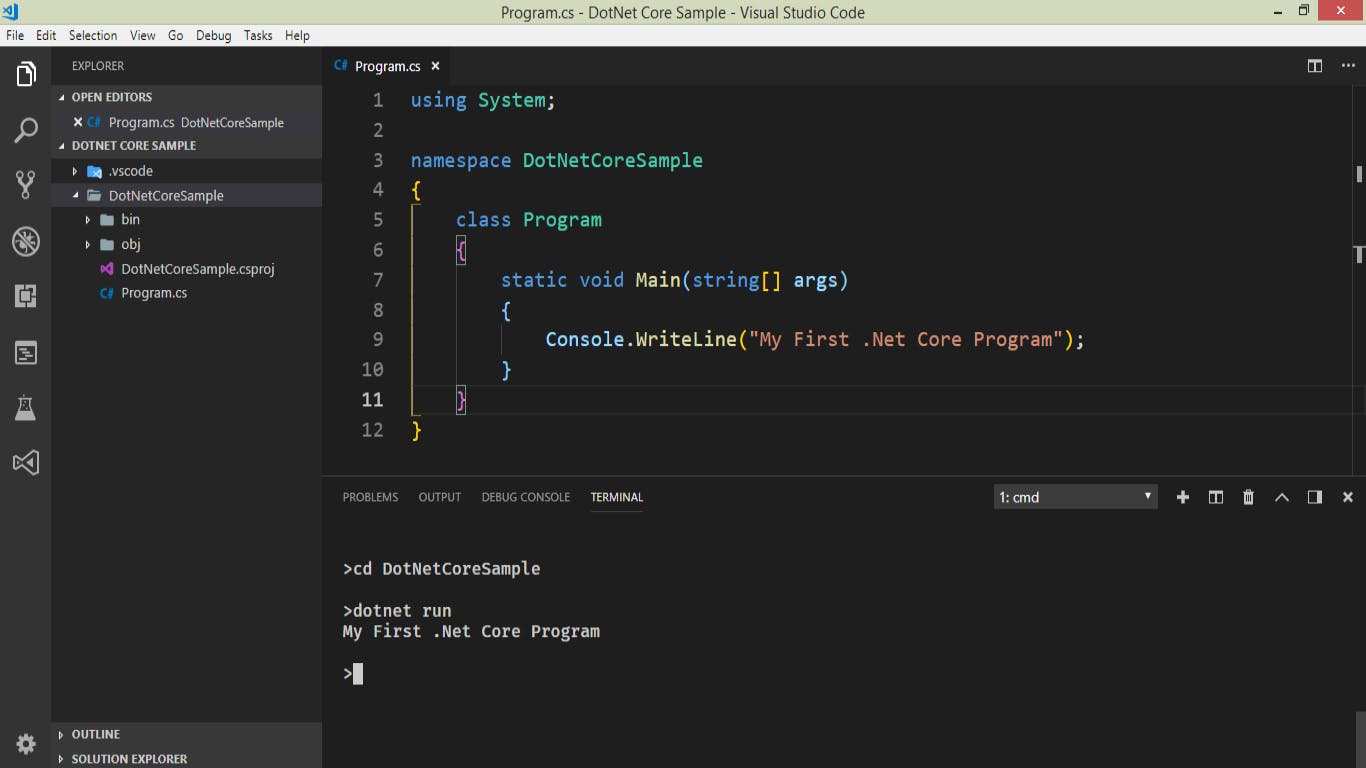
Program.csfile change theHello Worldstring toMy First .NET Core Program. Save the file and go to the terminal.Navigate to the directory in which
Program.csis located from the terminal. Typecd DotNetCoreSampleand press enter. Now type the commanddotnet runin the terminal and press Enter. You will see that the text My First .NET Core Program is being printed on the terminal.
Summary
We have now created a simple .NET Core console application using Visual Studio Code. We have leveraged the new .NET CLI commands to create and run the project. For more information about .NET CLI refer to this link .
This post covers only the minimum setup for creating a development environment for .NET Core using Visual Studio Code. In future posts, I will mention more cool VS Code extensions which will make .NET Core development using this awesome text editor more fun.